 English
  Special offer
 Special offer
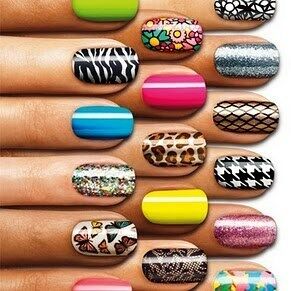
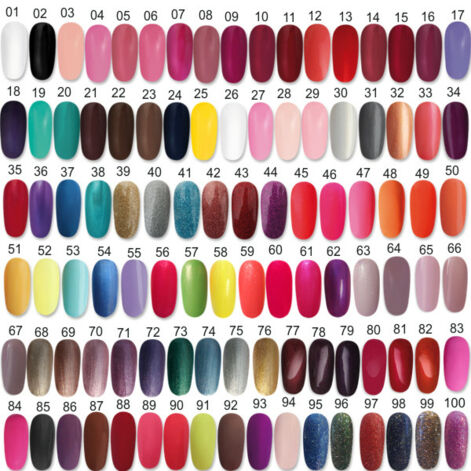
Vogue Nails - nail Stickers Nr532
Cheese Embellishments Vogue Nails. Choose the appropriate design from the drop-down menu with the corresponding number… Now you can enjoy a unique individual design on your nails! Manicurists with Vogue nails will significantly save money on materials, drawing application time and most importantly – your health (no more need to ruin your vision by carrying out detailing). Adhesive with imitation painting or any other design can be used for all kinds of manicures, as well as applied under gel, ac...
EAN Code / Package Code : vn532
Producer : EU Europe
Importer : PRO Kosmeetika
Pack : 12 tk
Cheese Embellishments Vogue Nails.
Choose the appropriate design from the drop-down menu with the corresponding number…
Now you can enjoy a unique individual design on your nails!
Manicurists with Vogue nails will significantly save money on materials, drawing application time and most importantly – your health (no more need to ruin your vision by carrying out detailing). Adhesive with imitation painting or any other design can be used for all kinds of manicures, as well as applied under gel, acrylic and other coatings to strengthen or lengthen nails. Even a novelty in the beauty world such as Shellac also looks nice with nail stickers.
Vogue nails has a myriad of pluses – brightness, saturation, shine, colourfulness won’t leave you indifferent and with a wide range of perfectly executed designs, its application doesn’t require much time. The adhesive is chosen according to the size of the nail, but can be trimmed with scissors if necessary, while the edges are polished with a nail file.
But the main value is that now anyone can create their own unique design on the nail!!!
To achieve the maximum effect, we recommend following these rules:
For the convenience of pasting the image on the nail, you should use a flat tweezer, orange stick, nail file, manicure wrapper.
Remove the design from the paper tray with care, as the film is very thin and can tear.
The material is afraid of contact with water. Under no circumstances should stickers be handled with wet hands!!!
for the brightness of the photo design, apply a white or other shade base to the nail before sticking it on, depending on the effect you want to achieve (If you apply a litho or silver glue on top of the base, the photo design will look shiny. This will look spectacular in practically all types of photo design). It can be lacquer, acrylic, acrylic paint, etc.
to make the design stick to the nail without folds and wrinkles, small incisions can be made in the edges of the cut-out photo.
to make the design last long, the image must be properly positioned by leaving a 1 mm gap between the base and the edges of the nail when gluing the design;
not all gels are suitable for nail design. After some of them, nail layering can happen. To avoid this, choose the right gel for the job. When using gel for nail photo design, we recommend the use of a single-phase thick gel from Planet nails. A photo design done with this gel stays on the nail until the next correction.
Cut out the picture with scissors.
Remove the self-adhesive film from the base with tweezers or fingers.
Adhere the image to a nail previously covered with a background varnish (white, pink, sequin, etc., if necessary the edges can be carefully stretched to spread the adhesive). The film is quite elastic.
Smooth out the creases and remove the air bubbles by properly pressing the sticky surface onto the nail with an orange stick. Remove the excess film. Along the cuticle line: pull over with the tip of a manicure scissors and the excess will come off easily. Along the open edge of the nail: with a nail file.
Coat the nail twice with a colourless varnish (base coat).
The manicure is complete. Lasts 4–7 days. If you cover the nail with a gel nail fixer, it will last 7–12 days.
Gel under (aquarium method):
Apply a layer of (thin) base gel to the prepared nail.
Then cover the nail with a thin layer of the constructing gel. Cure each layer in a UV lamp.
Remove the sticky layer by first sanding the nail with a sponge, then remove the chewing gum and clean the grease from the nail surface.
Separate the cut-out image from the base and apply to the nail, leaving 1 mm of the cuticle to allow the top layer of the image to adhere to the bottom layer of gel (acrylic).
Straighten the folds. Remove the excess film.
Work the adhesion area around the nail with a nail file.
Next you can either apply a layer of (thick) constructing gel and finish the design by modelling the nail. Or continue the design by decorating the nail – apply a thin layer of gel and decorate the nail with sequins or stones, or other accessories. The design can be enhanced with acrylic paints. Finish by curing the top coat in a UV lamp.
Give the nail its final shape.
Coat the top surface with a finishing coat – intensil or finish.
10. Cure in UV lamp for 2 & 3 minutes.
11. The image will be preserved until correction.
Gel down (method 2):
Apply a layer of (thin) base gel to the prepared nail.
Cover the nail with a thin layer of constructing gel. Cure each layer in a UV lamp.
Give the nail its final shape.
Remove the sticky layer by first sanding the nail with a cardboard.
Apply a white or coloured gel, or make a stroke or base coat with acrylic paint.
Remove the tacky layer.
Separate the cut-out image from the base and apply to the nail, leaving 1 mm of the cuticle to allow the top layer of the image to adhere to the bottom layer of gel (acrylic).
Straighten the folds. Remove the excess film. Remove excess film.
Work the adhesion area around the nail with nail file.
10. Apply a thin layer of constructing gel.
11. Apply a finishing coat of Intensil or Finish.
12. Cure in a UV lamp for 2 & 3 minutes.
Acrylic under:.
Bonder
Primer
Cover the nail with a layer of constructing acrylic, prime the nail.
Make a base coat with coloured acrylic.
Separate the cut-out image from the base and apply to the nail, leaving 1 mm of the cuticle to allow the top layer of the image to adhere to the bottom layer of gel (acrylic).
Straighten the folds. Remove the film excess. Remove excess film.
Work the adhesion area around the nail with nail file.
Thinly pull over the top surface with acrylic.
Apply a final coat of finish gel or acrylic (cure in UV lamp for 2 to 3 minutes)
If the “femi-film” peels off the nail after applying the polish, gel or acrylic, it means that you did not press it hard enough onto the nail with the orange stick.
Once you’ve got the basic rules sorted out, you can get on with the photo design.
Available in all PRO Cosmetics stores and online..
| Total availability: | ||
|---|---|---|
| TULIKA 15 17, TALLINN, ESTONIA: | - | |
| Mustikas kaubanduskeskus, Karjavälja tn 4, Tallinn: | - | |
| Eeden Keskus, Kalda tee 1C, Tartu: | - | |
| Mustakivi prisma keskus, Mustakivi tee 17, Tallinn: | - | |
| T1 Kaubanduskeskus, 1 korrus, Tallinn : | - | T1 Kaubanduskeskus, TALLINN, ESTONIA. Oleme avatud: E-P:10.00-20.00; Tel. 5587571, info@prokosmeetika.ee |
| Artius keskus, 1 korrus, Tallinn : | - | |
* Attention! The quantity of goods is informative and is constantly changing. Please note that the item may be sold out by the time you submit your order or visit our store. Also, the quantity may not always be accurate. Keep in mind that having a product in stock does not always automatically guarantee that it will be available in the required quantity.
The higher the quantity of the item in stock, the more likely you are to be able to purchase the item in the right quantity.
<5 - the quantity of goods in the warehouse is less than 5 pcs.
5> - the quantity of goods in stock is more than 5 pcs.
>100 - more than 100 items in stock
**All orders made within Estonia, made and paid for before 13:00, will be delivered the next business day if possible! Except holidays!
Recommend Show all
 -3%
-3%
 Customer favorite
-39%
Customer favorite
-39%
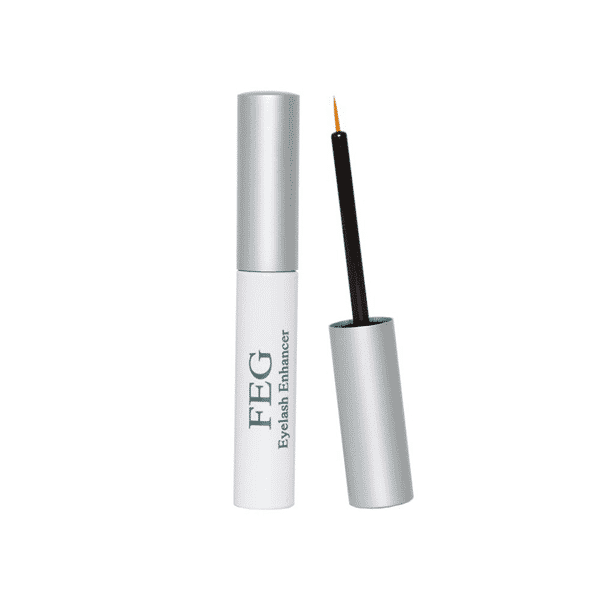
F. E. G. Natural Serum for Eyelash Growth, 100% Original product , 3 ml
 -3%
-3%
 Special offer
-26%
Special offer
-26%
GEL LAC Aden, 10ml.
Out of stock or no longer in the product range, see similar products on our website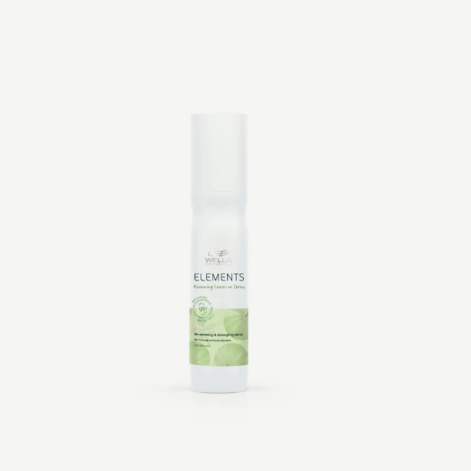 -3%
-3%
Wella Professionals Elements Leave-In Conditioning Spray , 150 ml
 -33%
-33%
 -3%
-3%
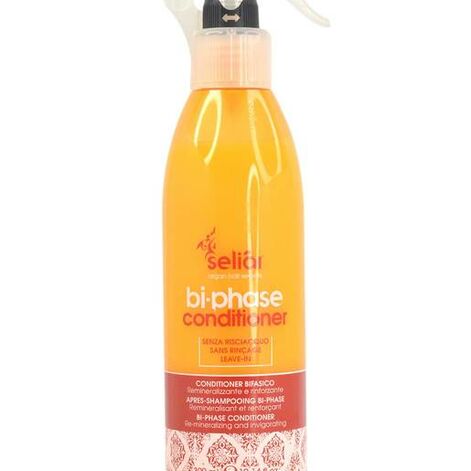
Echosline Seliar Bi-Phase Conditioner , 300 ml
Out of stock or no longer in the product range, see similar products on our website Best price
-65%
Best price
-65%
 -36%
-36%
 -3%
-3%
 -3%
-3%
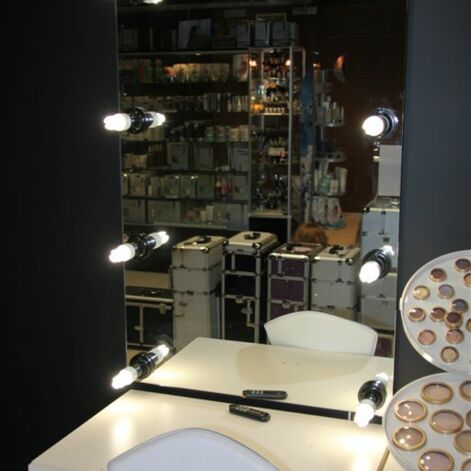
Make-up mirror with light , 1 tk (65 x 65cm)
Out of stock or no longer in the product range, see similar products on our website Special offer
-3%
Special offer
-3%


